Key takeaways
- Size images to the width they will actually display before upload. WordPress builds thumbnails from that source file.
- Prefer WebP for photos and screenshots; PNG or lossless WebP for logos and flat graphics; SVG for simple icons when you can upload it safely.
- For photos, lossy quality in the roughly 70–85 range is a practical starting point. Logos and text-heavy graphics should stay lossless.
- On an existing library, audit unused media and duplicates before you compress anything.
- Confirm results in PageSpeed Insights and DevTools — but treat “under 100 KB” as a useful check for many content images, not a universal rule.
Most WordPress sites do not need a perfect compression theory. They need a repeatable sequence: right dimensions, right format, sensible quality, then a careful pass over what is already in the Media Library. This guide covers that sequence, the settings that usually matter, and where a Media Library tool like FoldRocket fits without pretending it replaces every dedicated CDN optimizer.
What “optimize images for WordPress” actually means
Optimization is a pipeline, not one toggle:
- Dimensions — the pixel size you upload
- Format — JPEG, PNG, WebP, SVG, sometimes AVIF
- Compression — lossy vs lossless and quality level
- WordPress derivatives — thumbnail / medium / large (and theme sizes)
- Library hygiene — unused files, duplicates, missing ALT text, broken attachments
WordPress will generate intermediate sizes from your upload. That helps responsive images, but it does not fix a 4 MB photo that is displayed at 800px.
For background on how sizes work in core, see the WordPress image size documentation.
What WordPress does (and does not) do on upload
It helps to separate three things people often mix up:
| Behavior | What WordPress typically does |
|---|---|
| Very large uploads | If width or height exceeds the big-image threshold (default 2560px), WordPress can scale the image down and use that as the main “full” file. |
| Intermediate sizes | Resized copies are generated for registered sizes. |
| Quality on those copies | Generated JPEGs use a default quality around 82 (WebP defaults are in a similar high-80s range). That is not the same as a full optimization pass on every original. |
| Original intent | A heavy file that is already under the threshold can still sit in uploads larger than you need. |
So: WordPress is not “doing nothing,” and it is also not a complete image optimization workflow. You still decide what enters the library.
Recommended upload sizes by use case
Match the theme content width, not the camera.
| Use case | Useful upload width | Notes |
|---|---|---|
| Full-width hero | 1920–2560px | Follow the theme container; retina does not mean 5000px |
| Featured / blog image | 1200–1600px | Enough for most content columns |
| Product photo | 1000–1600px | Keep crop orientation consistent across the catalog |
| Inline content | 800–1200px | Rarely wider than the content column |
| Logo | 250–500px or SVG | Prefer SVG for simple marks when sanitization allows |
Why resize before upload still wins
Even with the 2560px threshold, uploading “good enough” sources keeps derivatives smaller and avoids a library full of near-max files. Cleaning years of oversized uploads later is slower than sizing once at the start.
Which format to use
WebP as the default for photos
Use WebP for photographs, screenshots, and most content images you would previously save as JPEG. WordPress can upload and handle WebP natively since 5.8, when hosting image libraries support it (WordPress 5.8 WebP note).
Practical caveats:
- Host must support WebP in Imagick/GD.
- Some client workflows still expect JPEG.
- Animated/alpha edge cases can behave differently when WordPress generates resized versions.
When PNG or SVG is better
- PNG / lossless WebP — logos, UI, sharp edges, text in the image, flat color.
- SVG — simple icons and logos. WordPress blocks SVG uploads by default for security; sanitize or ship from the theme if you use them.
AVIF
AVIF can be smaller still, but support and hosting tooling vary. Prefer it when your stack can convert and serve a fallback cleanly. web.dev’s image format guidance is a solid reference for browser and delivery patterns.
Lossy vs lossless: a simple rule
- Photos / screenshots with gradients: start lossy (JPEG ~75–85 or WebP ~70–80). Inspect skin, sky, and soft backgrounds before you go lower.
- Logos, charts, screenshots with UI text: lossless. If a PNG logo is huge, export it smaller — do not “smash” it with heavy lossy settings.
There is no single quality number that is correct for every site. Preview on real pages, not only in a plugin modal.
Our recommended workflow
A. New uploads (do this every time)
- Export at display width (see table above).
- Choose format (WebP for photos; PNG/SVG for marks).
- Apply sensible compression in your editor or optimizer.
- Use a descriptive filename before upload.
- Add ALT text when the image is meaningful content.
- Upload once — avoid “final_v3_FINAL.png” duplicates.
B. Existing Media Library (client cleanup)
- Audit first — unused candidates, duplicates, absurd dimensions, missing ALT.
- Decide what to delete or keep — do not compress junk you will remove.
- Optimize in batches — small batches on live sites; prefer staging when you can.
- Keep backups / originals when the tool offers restore.
- Spot-check heroes, product images, and logo usages.
- Re-check PageSpeed and the Network panel on a few key templates.
What we would check first
On a messy client library, we usually look at:
- Heaviest files by bytes
- Images far wider than any theme breakpoint
- Duplicate logos and repeated screenshots
- Potentially unused attachments (with caution — references hide in builders, widgets, and CSS)
- Missing ALT on content images
- Whether the LCP image is oversized or lazy-loaded incorrectly
WordPress has improved default lazy-loading and LCP-related attributes in recent versions, but page builders can still override that. Treat “lazy is on” as something to verify, not assume.
How to verify that optimization worked
- Run PageSpeed Insights and read image-related audits (properly sized images, next-gen formats).
- In Chrome DevTools → Network → Img, check type and size for the LCP and main content images.
- Compare a few before/after visuals at 1x and 2x zoom.
- Remember: a good PageSpeed score also depends on JS, CSS, hosting, and third-party tags. Images are one lever.
A content image that is still multiple megabytes after a “successful” bulk run usually means the file was skipped, not that “100 KB is required for every photo.” Heroes and product zooms can legitimately weigh more.
Common mistakes
- Uploading camera originals “because WordPress will handle it”
- Compressing duplicates and unused files you should delete first
- Using lossy compression on logos
- Lazy-loading the LCP / hero image
- Renaming or moving files on disk without updating references
- Judging success only by a single PageSpeed number
- Installing three overlapping media plugins that fight over the same attachments
Choosing a plugin (without the “best free” trap)
For many searches, “best free optimizer” really means: “what should I install without making client sites fragile?”
Useful criteria:
- Actively maintained
- Clear about originals / backups
- Predictable on staging and production
- Does not force a credit treadmill if that model does not fit your workflow
- Scope you actually need (compression-only vs Media Library cleanup + tools)
Where FoldRocket fits
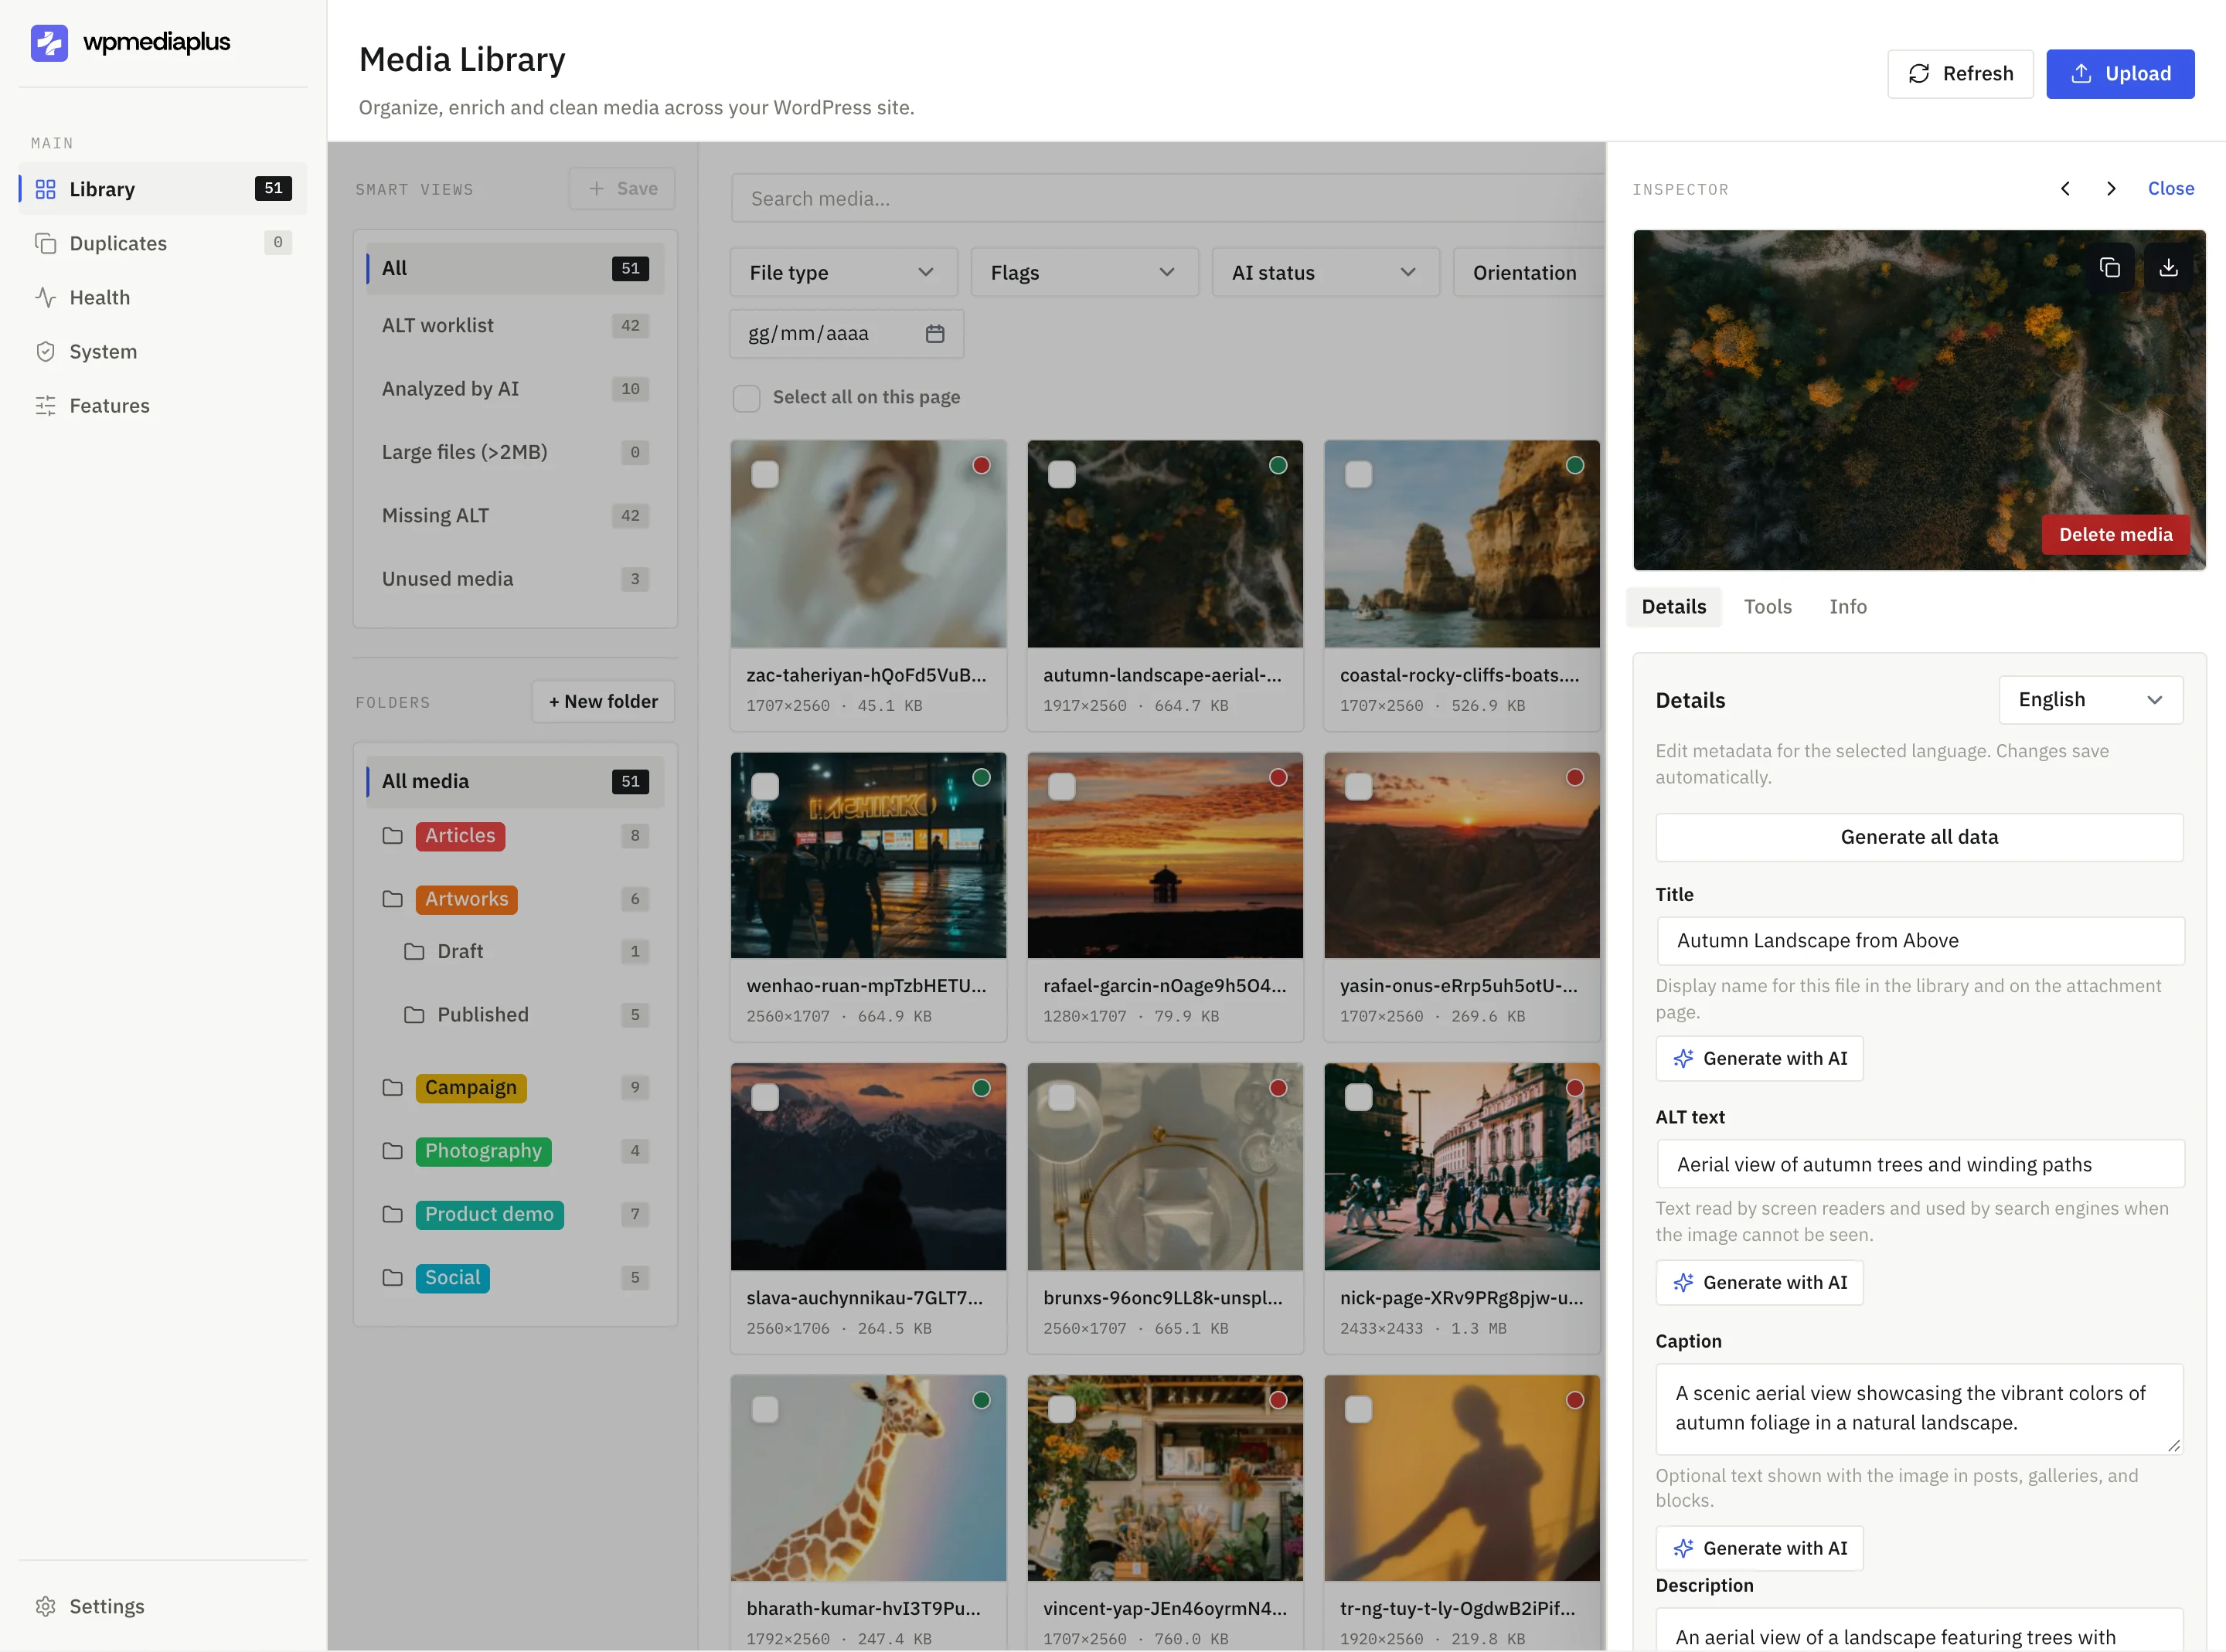
FoldRocket is not only folders. For this topic, the relevant Pro pieces are:
- unused media detection
- duplicate detection
- image optimization with preview and restore from backup
- resize in the library
- format conversion (JPEG / PNG / WebP / AVIF when the server allows)
- safer rename / replace workflows
- ALT and metadata tooling (including AI-assisted options with your own keys)
A practical order inside FoldRocket is: clean → then optimize. Finding unused and duplicate groups first avoids spending time compressing files you are about to remove.
Where it is not the whole answer
- It does not replace a CDN or full edge image pipeline.
- Pre-upload sizing in your design tool is still the cheapest win.
- If you only want a single-purpose free compressor and nothing else, a smaller plugin may be enough.
- AVIF/WebP results still depend on hosting capabilities.
For a compression-focused comparison point, see our Imagify comparison. For folder-centric tools, see HappyFiles and the full comparison index.
Clean up the Media Library before you optimize it
FoldRocket can surface unused files and duplicate groups, then compress images with preview and restore — so you are not optimizing assets you are about to remove.
Try FoldRocket on a real WordPress site →
FAQ
Does WordPress automatically compress images on upload?
It generates resized intermediate images and applies default quality settings to those generated files. That is not the same as a full optimization workflow, and a large-but-under-threshold original can still be heavier than you want. Resize before upload when you can, then optimize deliberately.
Will optimizing images break posts and links?
Not if you keep the workflow non-destructive: preserve backups/originals, avoid reckless renames/moves, preview before bulk apply, and test on staging when possible. Broken pages usually come from changed URLs or deleted files still referenced in builders — not from careful compression alone.
How much smaller should files get?
It depends on the source. Many photos drop substantially with sensible lossy settings and/or WebP; logos should not be forced through the same profile. Treat “50–70% smaller” as a common outcome for overweight photos, not a guarantee.
Is WebP safe to use in WordPress?
On modern WordPress (5.8+) with capable hosting, yes for most sites. Confirm hosting support and check any legacy client constraints. Prefer a fallback strategy if you adopt AVIF widely.
Should I optimize before or after cleaning unused media?
Clean first. Compressing files you will delete wastes time and obscures what actually improved.
Conclusion
Optimizing WordPress images is mostly discipline: sane dimensions, the right format, careful quality, then a library pass that deletes waste before it compresses what remains. Use PageSpeed and DevTools to verify the files that matter on real templates. Use FoldRocket when you want cleanup, optimization, and Media Library tools in one non-destructive workflow — not when you need an edge CDN to be your only strategy.